More money is wasted on wrongly sized boxes than on any other packaging mistake. A box that arrives 4mm too small is scrap; one that is 30mm too generous rattles, needs void fill, and costs more to post — forever. The good news is that measuring correctly is a five-minute discipline once you know the conventions. Here they are.
The industry convention: L × W × D
Box dimensions are always quoted in the same order:
- Length (L) — the longer side of the box opening;
- Width (W) — the shorter side of the opening;
- Depth (D) — the distance from the opening down to the base (sometimes called height).
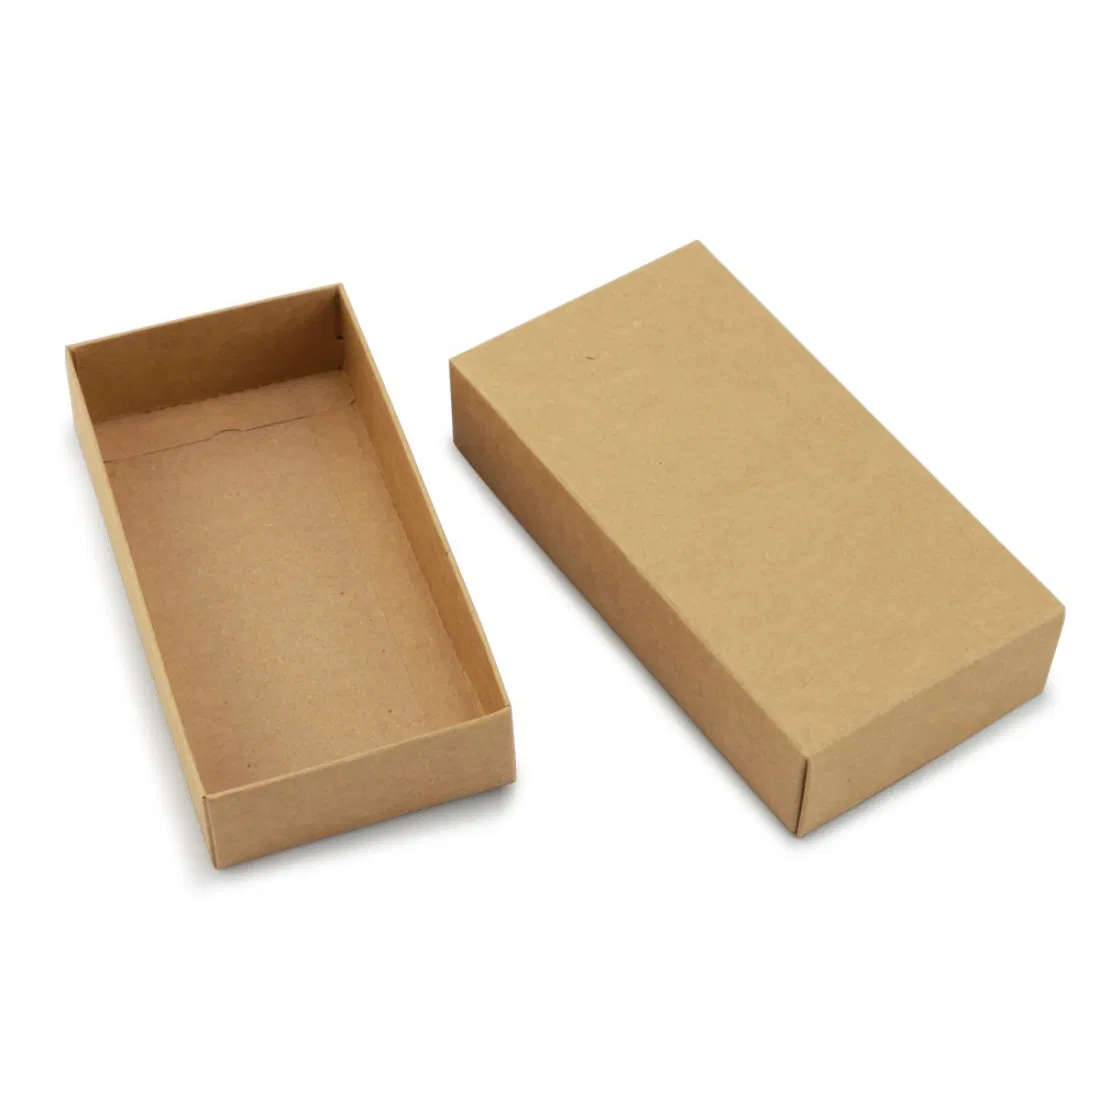
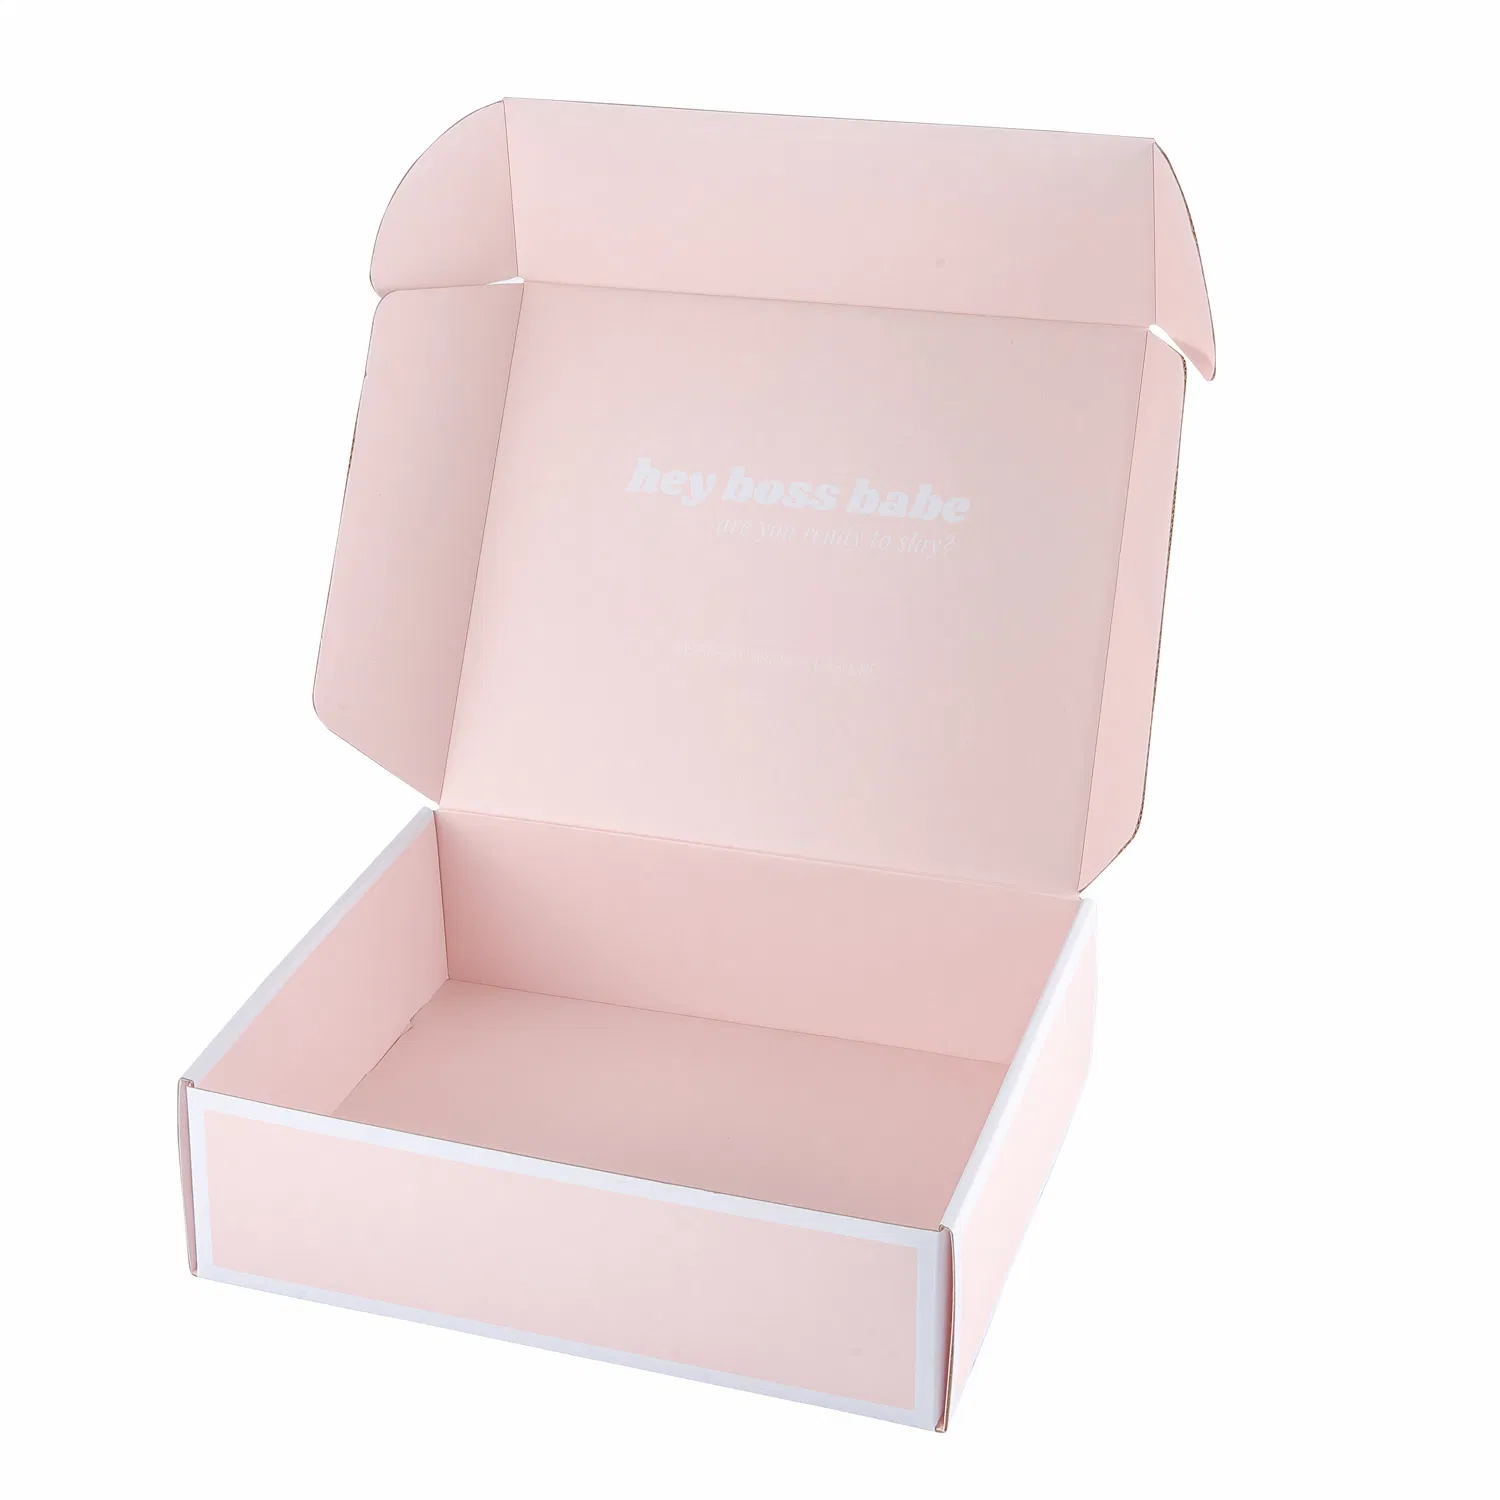
So a 250 × 150 × 100mm box has an opening of 250mm by 150mm and stands 100mm deep. Quote your sizes in this order and any packaging supplier in the country will understand you. Quote them in a random order and someone, somewhere, will build the wrong box with complete confidence.
Internal dimensions — almost always
Custom packaging is specified by internal dimensions, because the job of a box is to fit what goes inside it. External size only matters in two situations: when the box must fit inside another box (a retail carton going into a shipping case), and when you are up against a postal size limit. If either applies, say so explicitly when you request a quote — we will do the arithmetic on wall thickness for you.
Wall thickness is not trivial, incidentally. Folding carton board adds roughly 1mm per wall; E-flute corrugated about 1.5mm; B-flute about 3mm. On a double-walled shipping box you can lose 8–10mm of internal space versus the external footprint. Our guide to cardboard grades lists the common thicknesses.
Measure the product, not an old box
The most reliable method is to measure the thing you are packing, then add clearance:
- Lay the product flat and measure its longest side, its widest side, and its height at the tallest point — including lids, pumps and protrusions.
- Add 3–5mm clearance per dimension for a snug retail fit (cosmetics, candles, boxed sets).
- Add 10mm or more where the product is wrapped, bagged, or needs protective inserts.
- For multiple items in one box, arrange them as they will actually sit — including dividers — and measure the footprint of the arrangement, not the sum of the parts.
Copying the dimensions of "the box the last supplier made" bakes in whatever error they made, and printed dimensions on old artwork are frequently external anyway. Measure fresh.
Letterbox limits: worth designing around
If you ship direct to consumers, Royal Mail's Large Letter format is the cheapest game in town, and the limit that matters is 353 × 250 × 25mm. A mailer designed at, say, 340 × 240 × 22mm internal glides through a letterbox and saves a meaningful sum on every single order. If your product can possibly live within 25mm of depth, design for it. This is exactly the sort of thing worth mentioning in your quote request — a small size change at the design stage is free; after printing, it is not.
Five mistakes we see every month
- Supplying external dimensions as internal. The classic. The product no longer fits.
- Measuring a made-up box across its bulging middle. Measure at the creases, where the geometry is honest.
- Forgetting the extras. Tissue paper, void fill, an insert card and a thank-you sticker all take up room.
- Ignoring flute direction and thickness on corrugated — 3mm per wall, twice per dimension, disappears fast.
- Rounding to neat numbers. 200 × 150 × 75mm looks tidy in an email, but if the product needs 204mm, tidy is scrap.
The shortcut: start from a dieline
Every box style we produce has a free dieline template you can download, set to your dimensions and check on screen before anything is cut. If you would rather we sanity-check your measurements instead, include the product dimensions in your quote request and we will size the box around them — that is rather the point of custom packaging.