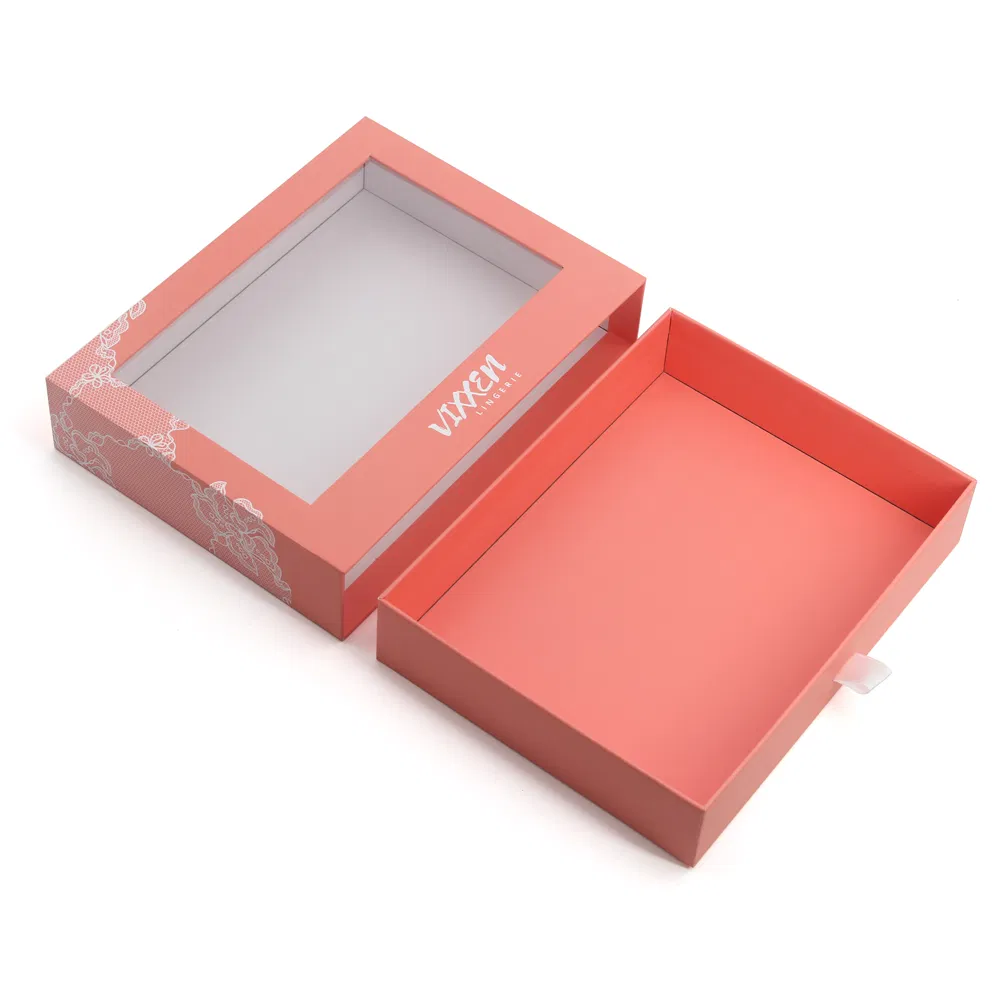

Ask for custom packaging and the first thing a supplier will send back is a dieline. If you have never met one, it looks like an odd technical drawing — a spidery outline covered in solid and dotted lines, with flaps sticking out at strange angles. It is, in fact, the single most useful document in the whole process, and understanding it will save you a great deal of back-and-forth. This guide explains what a dieline actually is, what each line means, and how to use a free template to get your artwork right first time.
A dieline is your box, unfolded and laid flat
Every box starts life as a flat sheet of board that is cut and creased, then folded into shape. A dieline is the map of that flat sheet: it shows exactly where the board is cut, where it folds, and where flaps tuck in or glue down. Think of it as the sewing pattern for a box. When you design your packaging on top of a dieline, you are painting onto the flat sheet before it is assembled, so you can see precisely where your logo, text and imagery will land once the box is folded together.
Because the dieline represents the real cutting and creasing tool that shapes your box, it is dimensionally exact. Nothing about it is decorative. Every millimetre corresponds to a millimetre of finished board.
What the lines mean
Dielines use a small, consistent vocabulary of line types. Once you can read them, the drawing stops looking cryptic:
- Cut lines — usually shown solid. This is where the blade actually severs the board. The outer edge of your box and any windows or slots are cut lines.
- Crease or fold lines — usually shown as dashes or dots. The board is scored here so it folds cleanly rather than cracking. These are not cut through.
- Bleed — an area of artwork that extends beyond the cut line, so that when the blade lands slightly off (it always does, by a fraction) you get colour to the very edge rather than a thin white sliver.
- Safe area — an inner margin. Keep important text and logos inside it so nothing critical sits too close to a fold or a cut.
- Glue tabs and dust flaps — the extra panels that either bond the box together or close its ends. You generally leave these free of artwork.
The golden rule: design on a separate layer, and never move or alter the dieline itself. The dieline layer is the instruction to the cutting machine; your artwork layer sits underneath it.
Why suppliers insist on one
A dieline removes ambiguity. Without it, you might design a beautiful front panel with no idea that a fold runs straight through your product name, or that the flap covering half your imagery disappears inside the box once it is assembled. We have seen artwork where the logo ended up on the base and the ingredients panel on the lid — all because it was designed on a plain rectangle rather than a real dieline.
The dieline also guarantees the artwork matches the tool that cuts the board. If your file is built to a different size or shape from the cutting tool, the print will not register correctly and the job cannot run. Supplying print-ready artwork on the correct dieline is the difference between a smooth job and a week of corrections; our guide to preparing print-ready artwork covers the file-setup side in more detail.
How to use a free template
You do not need to draw a dieline from scratch. Every box style we produce has a free dieline template you can download, and there are no set-up fees for using one. The workflow is straightforward:
- Pick the style and size. Choose the construction that suits your product — a tuck box, a mailer, a sleeve — and set it to your internal dimensions. If you are unsure of the right size, our note on measuring a box correctly walks through the conventions.
- Open the file in your design software. Templates come as vector files (usually PDF or Illustrator) so the lines stay crisp at any scale.
- Design on a layer beneath the dieline. Position your artwork against the panels, respecting the bleed and safe area.
- Check it folds in your head. Trace each panel and picture where it ends up once assembled. The top of one panel often meets the bottom of another.
- Export with the dieline kept as a separate, clearly named layer so we can see the cut and crease positions without them printing.
A few practical habits
- Keep text at least 3mm inside any fold or cut. Type that sits on a crease looks broken once the board is scored.
- Extend background colours and images fully into the bleed. It is far easier to trim excess than to explain a white edge.
- Remember the inside. If you want a printed interior — increasingly common on mailers — the template will show the reverse panels too.
- Do not resize the dieline to "make the artwork fit". Resize the artwork instead; the dieline is fixed to the physical tool.
When you would rather not touch it yourself
Plenty of small businesses do not have a designer on hand, and that is fine. If you send us your logo, colours and a rough idea of what goes where, we can lay the artwork onto the correct dieline for you and send a proof back to check. Either way, the dieline is where every good packaging project begins — so if you are ready to start, grab the template that fits your box or request a quote and we will point you to the right one.